The first thing a customer sees when purchasing products online are the photos – they need to be captivating, clear, informative and simple. As an artist or designer, it’s important to know how to photograph your products to capture all facets of them and help customers make confident purchases. You want to compel visitors to click on your designs and gain an understanding of the product and its details. Relay colour, sizes, materials and uses in a few simple shots with these easy to follow photography tips, and give shoppers a reason to buy your pieces.
Equipment
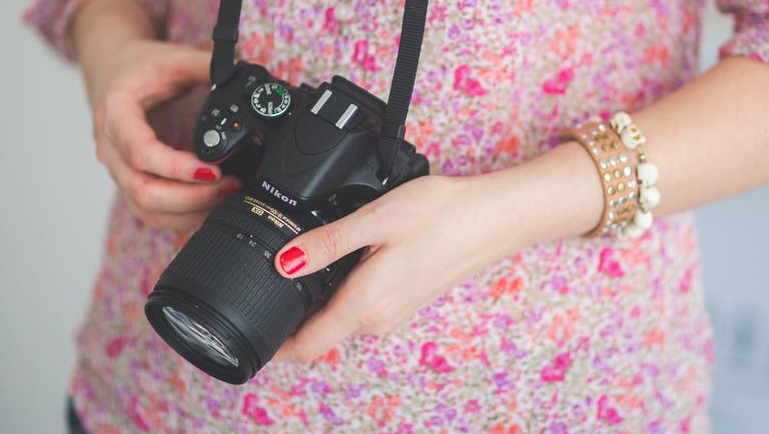
Planning a photo shoot can sound scary; it conjures up images of expensive equipment, pristine studio spaces and complicated technical jargon. But crafting beautiful photos doesn’t mean you need a top of the range camera. In fact, you don’t need a camera at all.
Whilst a DSLR does give you the option to play with various settings, product photography doesn’t need to be incredibly high res as it’s generally just displayed online. For this, an iPhone can do the trick perfectly. The quality of the images is high enough and it means you don’t need to fork out for a fancy camera.
Similarly, instead of buying light boxes and tripods, you can use items from around the home to improvise. Use a sheet of baking paper around your product and two lamps to create a makeshift light box for soft, diffused light, and use a stack of books to stand a camera/phone on instead of an expensive tripod.
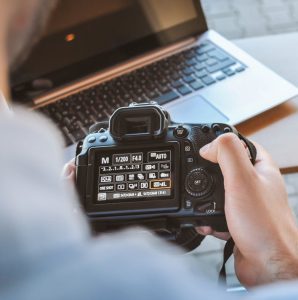
Camera Settings
As mentioned above, the most important thing when considering how to photograph your products is to have a clean, sharp photo which shows all details of your product clearly. However, if you do have the option to use a camera, there are a few tips on how to photograph your products which will ensure your product is shown at the quality it deserves.
Keep Proportions Accurate
It’s incredibly important that a customer understands the proportions of your products, so that they receive exactly what they saw online. Avoid using wide angle lenses or lenses which may warp the edges of the image, as this can skew the perspective and result in inaccurate photos.
Make Sure the Product is in Focus
Keep things sharp by using a small aperture, around f11/16. This will keep all aspects of the image in focus. A wider aperture is a great option for lifestyle or social media photographs, to add some depth to the photos.
Reduce Sensor Sensitivity
Use a low ISO to keep things crystal clear. Don’t compromise on quality by shooting in the dark with a high ISO – it will impact the standard of your images and result in poor photographs.
Lighting
Lighting is one of the most important factors in taking a fabulous photo. To enhance your products and show off all aspects of the design, keep the light soft. This will reduce any harsh shapes or shadows, and will show as much of the product as possible. You can do this by using natural light (with a cloudy sky), or diffusing light by pointing your camera flash at a wall. Alternatively, a makeshift light box can effectively diffuse light and create a natural, soft look. If you’re more comfortable with a camera, you can experiment with adjusting the white balance to keep the colours as accurate as possible.
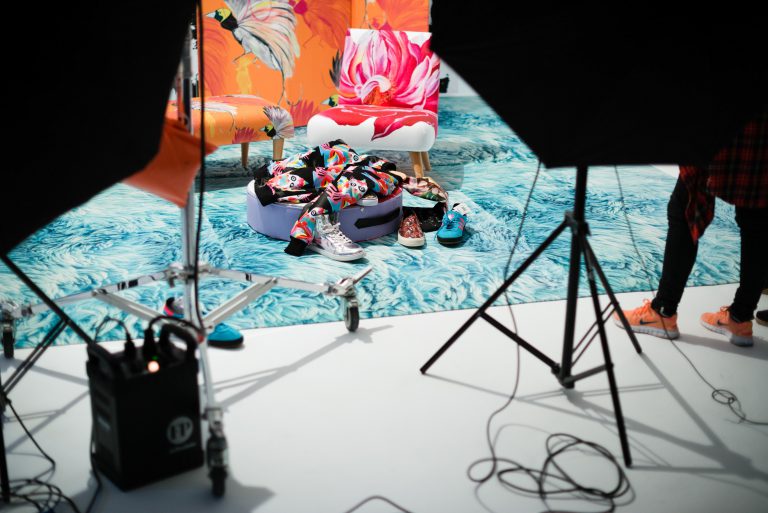
Photo Setup
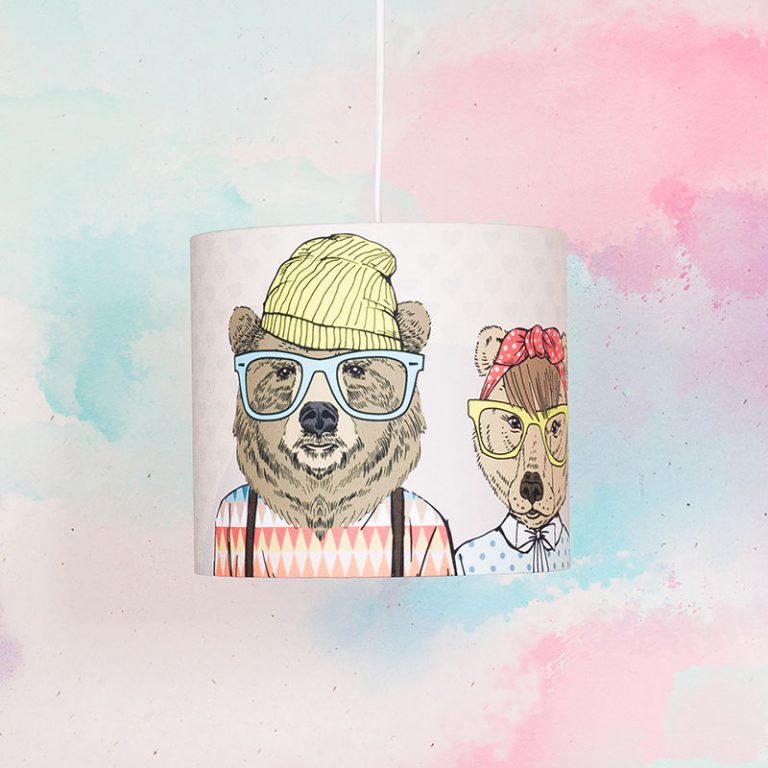
The visual design of your photo shoot can be just as crucial as the product itself. Choose a background which complements the colours in your product, or use a classic white or grey background so the attention is on your design. Make sure to use a continuous roll or sheet of paper which curves up behind the product, so there is no crease or line visible behind the object.
The first rule of using props in a product photo is – keep things simple. You don’t want to draw focus away from the product itself. However, a selection of small props can effectively enhance an image. Although a simple image of the product on a plain background can suffice for e-commerce, you can experiment for some variety.
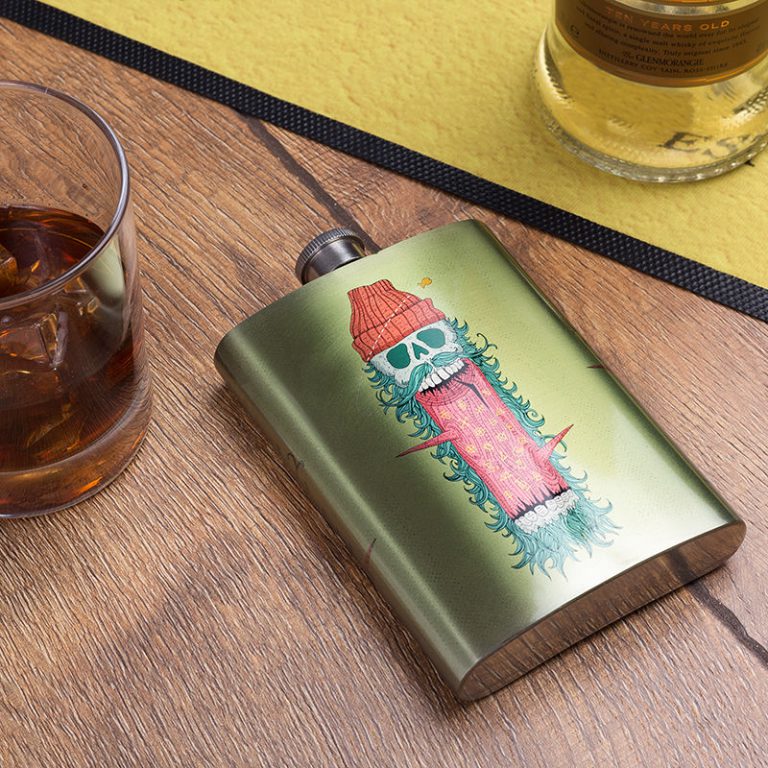
For example, try adding layers of different coloured plain paper or panels to bring some vibrancy to a shot. You could also display props which give the product context. For example, show your dinner plate design alongside some cutlery and napkins.
Lifestyle Photography
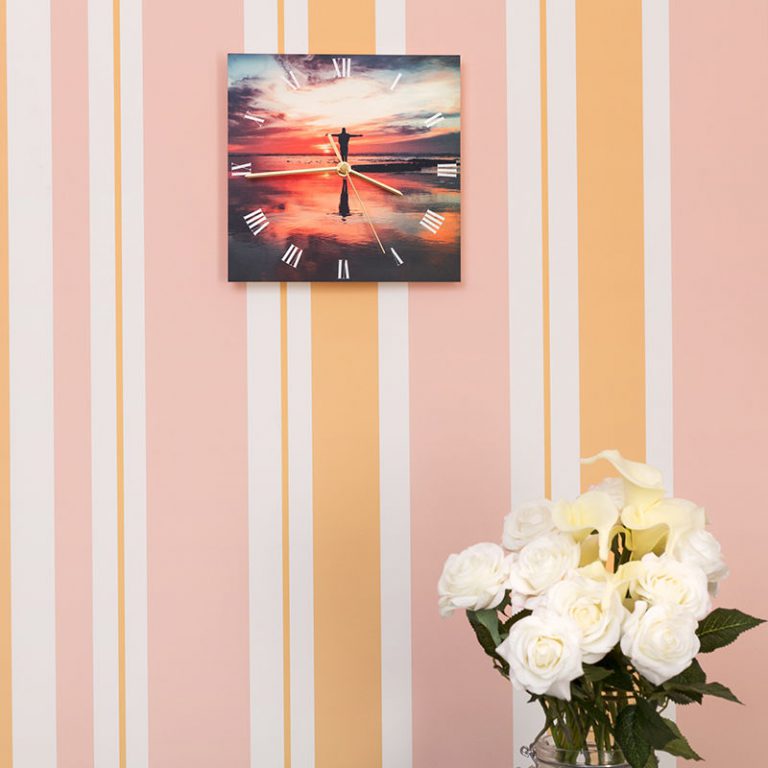
When considering how to photograph your products, it’s always an idea to take styled product photographs as well as simple shots of your designs on a plain background. Creating a lifestyle image of someone wearing your clothing or your print hanging in a home is the perfect way to demonstrate its use in everyday life and will create a narrative. These aspirational styles of photos illustrate the item being used in daily life. This will help sway customers to purchase. Remember the important thing is the product not the models – try not to overload models with other strong products or make up. You should always keep the focus on your design.
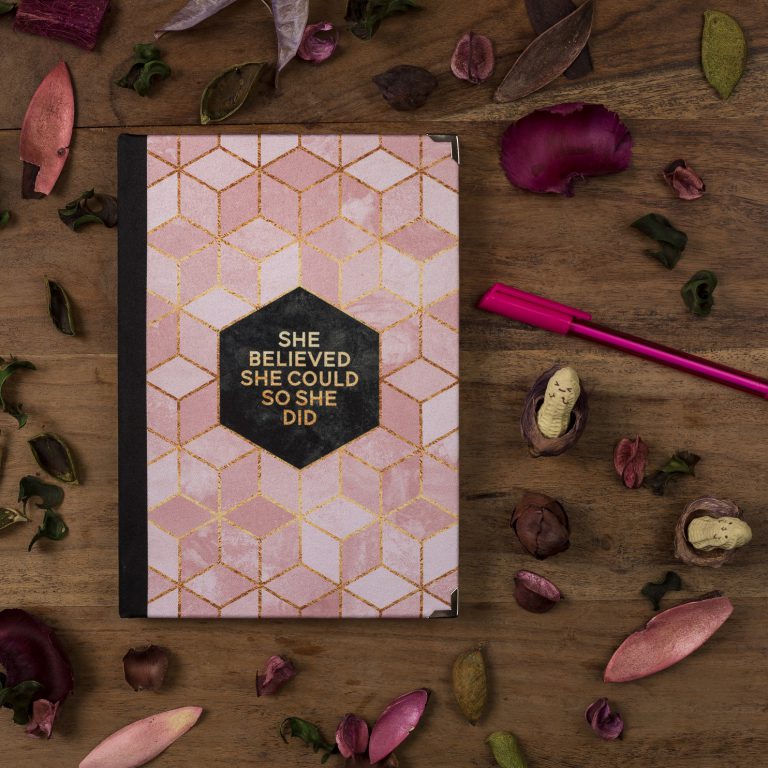
If you’re after a simpler look, you can introduce a couple of props into your photo shoot to add something extra to the final images. For example, photograph one of your notebook designs alongside some pencils and a pencil case, as if you were using it. These shots are particularly effective when used on social media. They help individuals see how your products fit into the lifestyle they aspire to have.
How to Photograph your Products: Types of Shots
There are four main types of shots to include in any online listings for your products.
Studio Shot
A studio shot is generally the primary photo, and showcases your item on a plain/minimal background. Try and get a feel for the materials and accurate colours, so shoppers know what to expect.
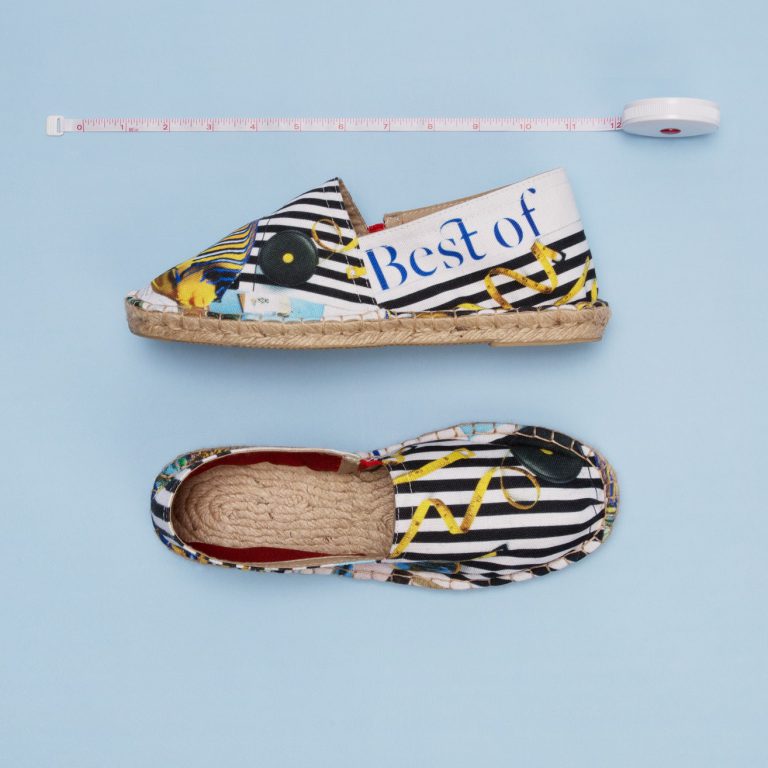
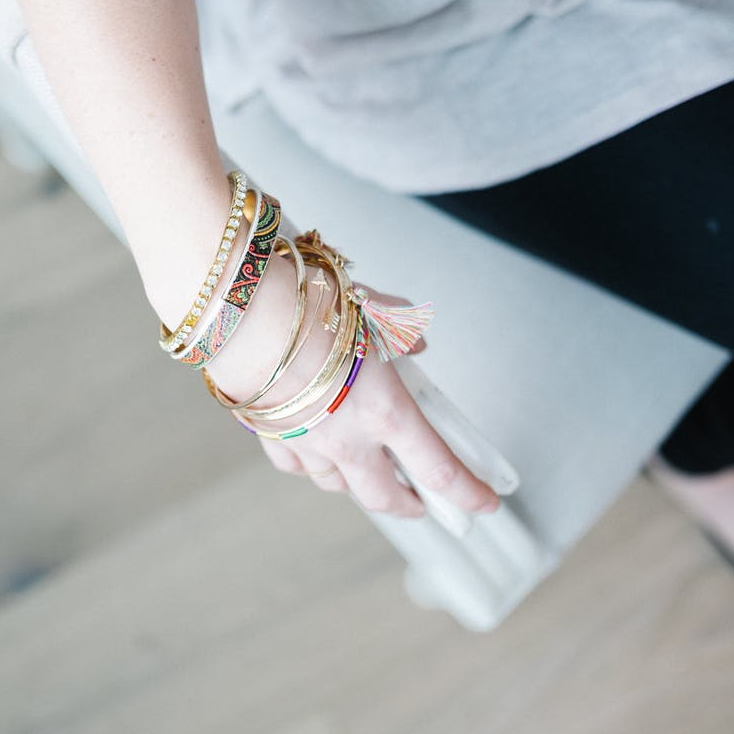
Scale
To give customers an idea of the size of the product, include something in the photo for scale. This could be a hand holding the product, someone wearing it, or a simple recognisable prop such as a pen.
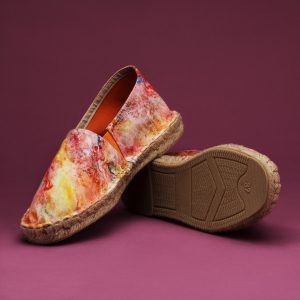
Details
A few close up shots will demonstrate any important parts of your products. This is particularly effective for showing stitching, textured fabrics, or extra details such as pockets.
Group
If the product is available in various colourways or styles, create a group shot with the similar products. This could encourage shoppers to buy more than one item, or even just remember your shop for future purchases.
Ultimately, your product shots need to showcase your beautiful designs and give customers an accurate representation of the pieces. Use them as a marketing tool to keep shoppers always wanting more, and regularly visiting your online shop. Get creating and experiment with what photography style works well with your designs.